
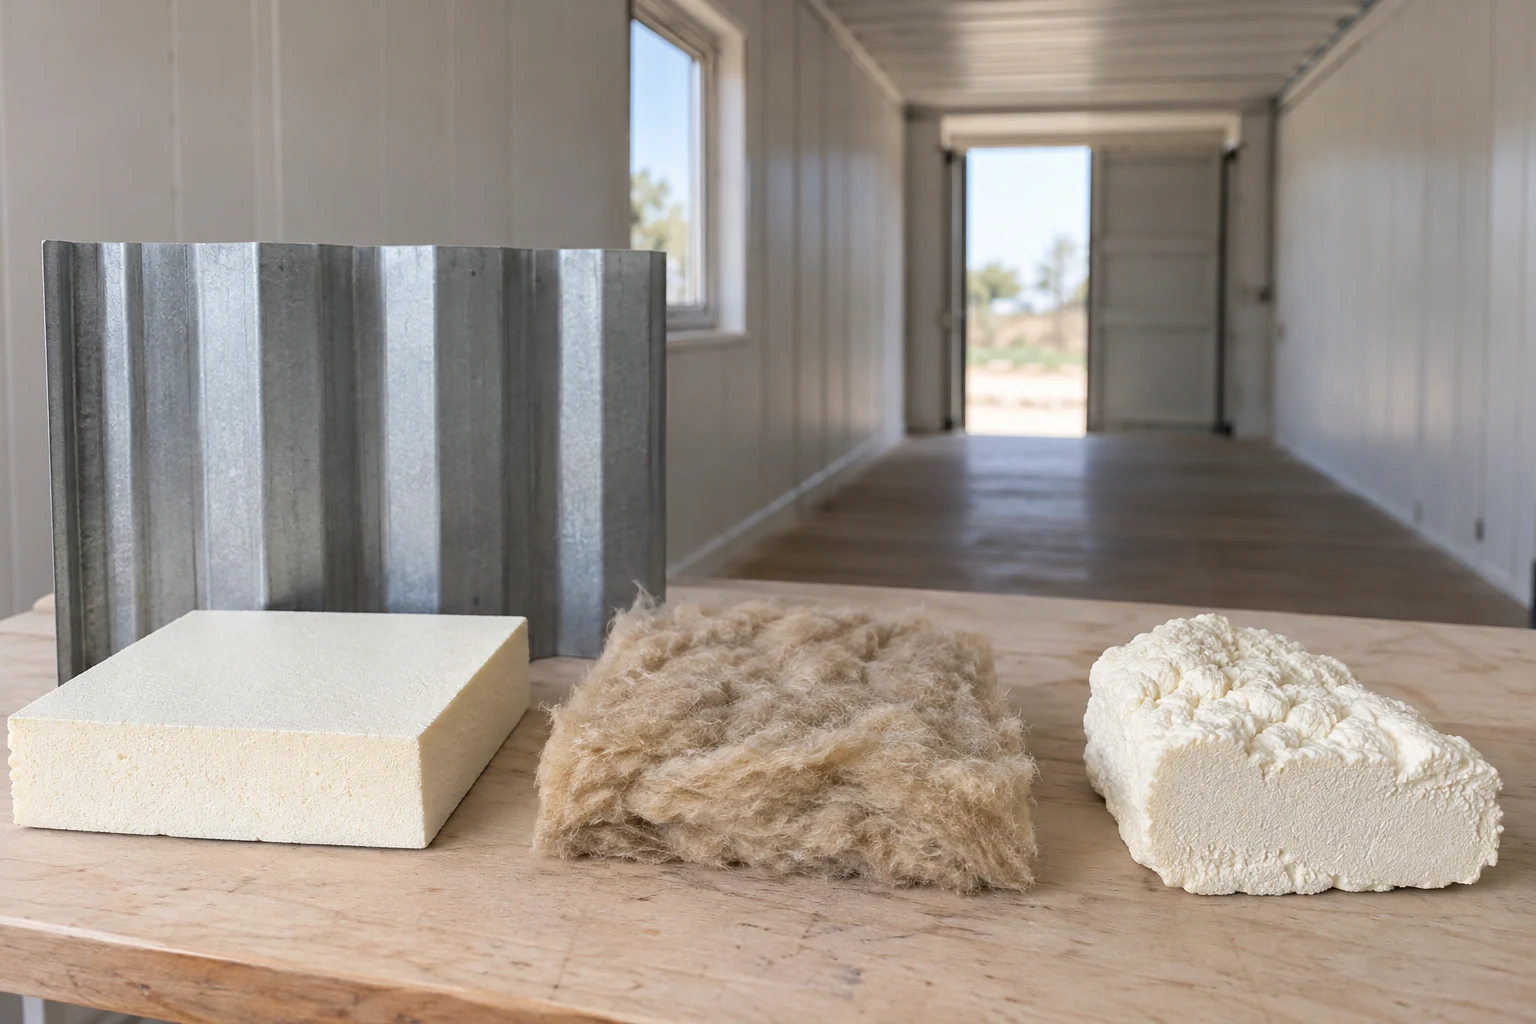
Start with the use and operating conditions
Insulation slows heat flow; it does not hold a set temperature by itself. For unconditioned storage, define what temperature swings and moisture exposure the contents can tolerate. For an occupied room, plan insulation together with heating, cooling, fresh air and moisture removal. A requirement to maintain cold-storage temperatures calls for an active refrigeration system and a suitable enclosure.
Climate changes the moisture problem. In a heated container during cold weather, indoor moisture can reach cold steel through air leaks. In hot, humid weather, outdoor moisture can enter a cooled enclosure. Where seasons change, the same assembly must also be able to dry under changing conditions. There is no single vapor-barrier location that fits all of these cases.
- Give the designer the project ZIP code, intended temperatures, occupied hours and activities that release moisture.
- Identify roof and wall exposure, windows, equipment heat and how often doors will open.
- Define whether the goal is reducing temperature swings, supporting occupant comfort or maintaining specified storage conditions.
Compare insulation options as complete systems
Compare the specified product and its installation details. A material R-value alone does not account for gaps, framing or other paths that conduct heat around it.
Steel members and unfinished edges can carry heat around the insulated areas. Ask how the design maintains continuity at corners, door frames, window openings and floor-to-wall junctions.
Include the protective interior finish in the specification. A noncombustible insulation material does not establish a fire rating for the whole container. For spray foam, also obtain product-specific installation, ventilation and re-entry instructions before scheduling occupancy.
| Option | What to evaluate | What must be resolved |
|---|---|---|
| Rigid foam board or shaped panel kit | Panel thickness, fit against corrugated steel and continuity across joints. | Attachment, sealed edges and penetrations, corner details and the required protective lining. A kit must match the actual container geometry. |
| Fiberglass or mineral-wool batts | Framing depth and whether cavities can be filled without gaps or compression. | A separate air-control strategy, moisture detailing and the interior finish. Heat can still bypass insulation through framing or exposed steel. |
| Spray foam | The specific open-cell or closed-cell product, intended thickness and substrate preparation. | Its documented air and vapor properties, coverage at difficult junctions, protective finish and installer requirements. Different foams are not interchangeable. |
| Reflective or foil-faced system | The product purpose and the air space required for its reflective function. | A reflective face needs the specified adjacent air space. Do not assume a thin liner provides the same resistance to heat flow as a thicker insulation assembly. |
Separate condensation, leaks and indoor humidity
A roof leak, air leakage and vapor diffusion are different routes for moisture. Inspect and resolve water entry before enclosing the steel. Then define how joints and penetrations will control air movement, how the assembly will manage vapor and where any moisture can dry.
Condensation becomes possible when a surface is cold enough relative to the moisture in the air that reaches it. Adding insulation without resolving air paths can leave cold steel accessible to humid air. Adding an impermeable layer in the wrong place can restrict drying.
Fresh-air ventilation and humidity control need separate attention. Recirculating conditioned air does not provide outdoor air, and bringing in hot, humid outdoor air does not necessarily dry the space. Lowering the thermostat is not a complete moisture-control plan.
- Ask for the air-sealing details around electrical penetrations, openings and panel joints.
- Ask which layers control vapor and how that choice fits the climate and operating temperatures.
- Identify moisture from occupants, wet equipment or stored goods, then account for it in the ventilation and conditioning plan.
Measure the finished space you will keep
Start with measured bare clear dimensions inside the actual container. Subtract the complete finished build-up on each opposing wall from the clear width. Subtract the ceiling build-up and raised floor build-up from the clear height. Include framing, necessary cavities and finish layers; do not count a shared cavity twice.
For arithmetic only, a hypothetical wall build-up of 3 inches on each side reduces clear width by 6 inches. That is not a recommended insulation thickness or a standard container measurement.
Exterior insulation can preserve more interior space and reduce some heat-flow paths through the steel. It also needs weather protection, suitable attachment and coordinated details at openings, roof edges and the base. Compare those additional works with the interior space saved.
Compare the complete insulation scope
An installed insulation price is useful only when the coverage, assembly and finish are defined. Material-only prices and insulated office package prices do not isolate the cost of insulating your container.
Mark each item included, excluded or unspecified. Obtain a price for unresolved work before comparing totals. Use the same drawings and coverage schedule for every quote so that an omitted floor or finish does not look like a saving.
| Work to price | Detail to put in the quote |
|---|---|
| Inspection and preparation | Leak or corrosion repairs, cleaning, removal of existing finishes and the condition assumed beneath them. |
| Assembly and coverage | Product, thickness, walls, ceiling, floor and doors; framing or attachments; treatment of corners and steel members. |
| Air and moisture detailing | Joints, seals, penetrations and the specified vapor-control approach. |
| Finish and related alterations | Protective lining, trim, access panels and changes around new doors, windows or equipment. |
| Labor and project logistics | Installation, access, removal or disposal, travel or transport, and applicable tax. |
| Conditioning and ventilation | Equipment, electrical work, controls and connections; identify whether these are priced separately. |
Prepare a specification before ordering
Prepare an editable request with the container size and condition, project location, intended use, operating conditions and the clear space you need after lining. Add photos or drawings showing openings and existing finishes. List the surfaces to insulate and the finish required on each.
- Request the proposed complete assembly and its product documentation, including unresolved design decisions.
- Ask who handles repairs, penetrations, ventilation, conditioning and final connections.
- If buying a completed insulated unit, request its existing specification and measured finished space before planning additional work.